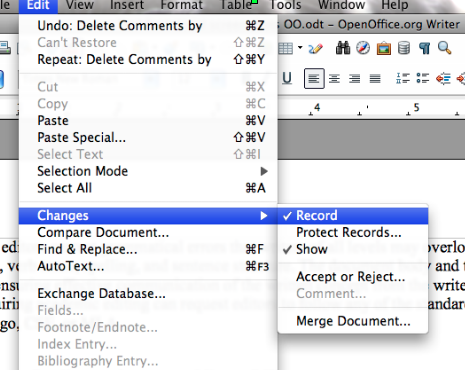
Step 1:
Click on the Edit tab in the toolbar at the top of the screen. Next, highlight Changes, and finally highlight Record. If there is a check mark next to Record, select Record to disable the Record changes feature. If you do not disable this feature, all text that you enter into the document will be recorded as edits. If there is no check mark next to Record, you will be able to alter the text appropriately.
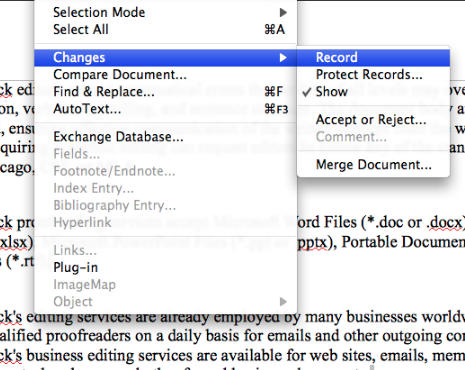
Step 2:
Note that the check mark next to Record has been removed, indicating that the Record feature has been disabled.
No products found.
Step 3:
Within the Edit tab, highlight Changes and then Accept or Reject.

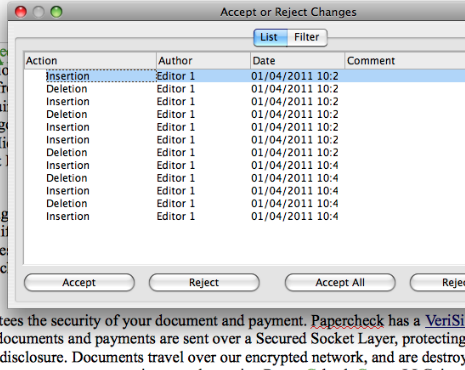
Step 4:
You will see an Accept or Reject Changes window. You can begin to accept or reject your changes by highlighting the first correction as shown below.
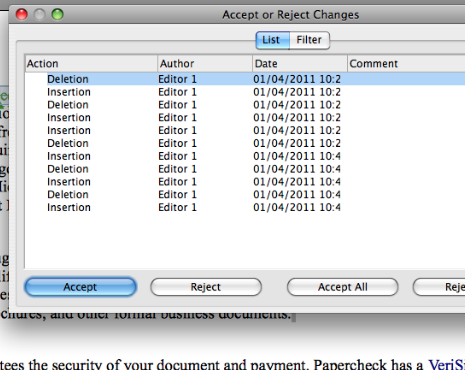
Step 5:
With the correction highlighted, click Accept to incorporate the change into the document. Your cursor will automatically move to the next correction.
No products found.
Step 6:
To reject a correction, highlight the correction and select Reject. The original text will be saved, while the correction will be erased.
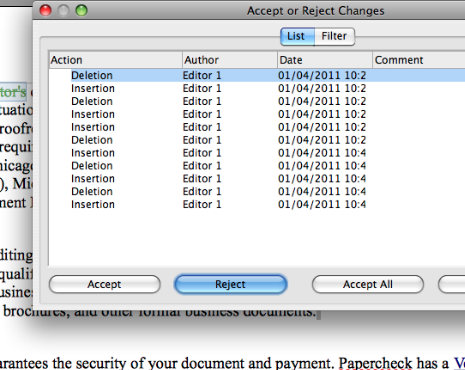
If you would like to accept all changes, click Accept All. All changes and corrections will then be incorporated into the document.