
Resource Center
Discover expert tips, guides, and tools to improve your writing and editing skills
43 Resources Found
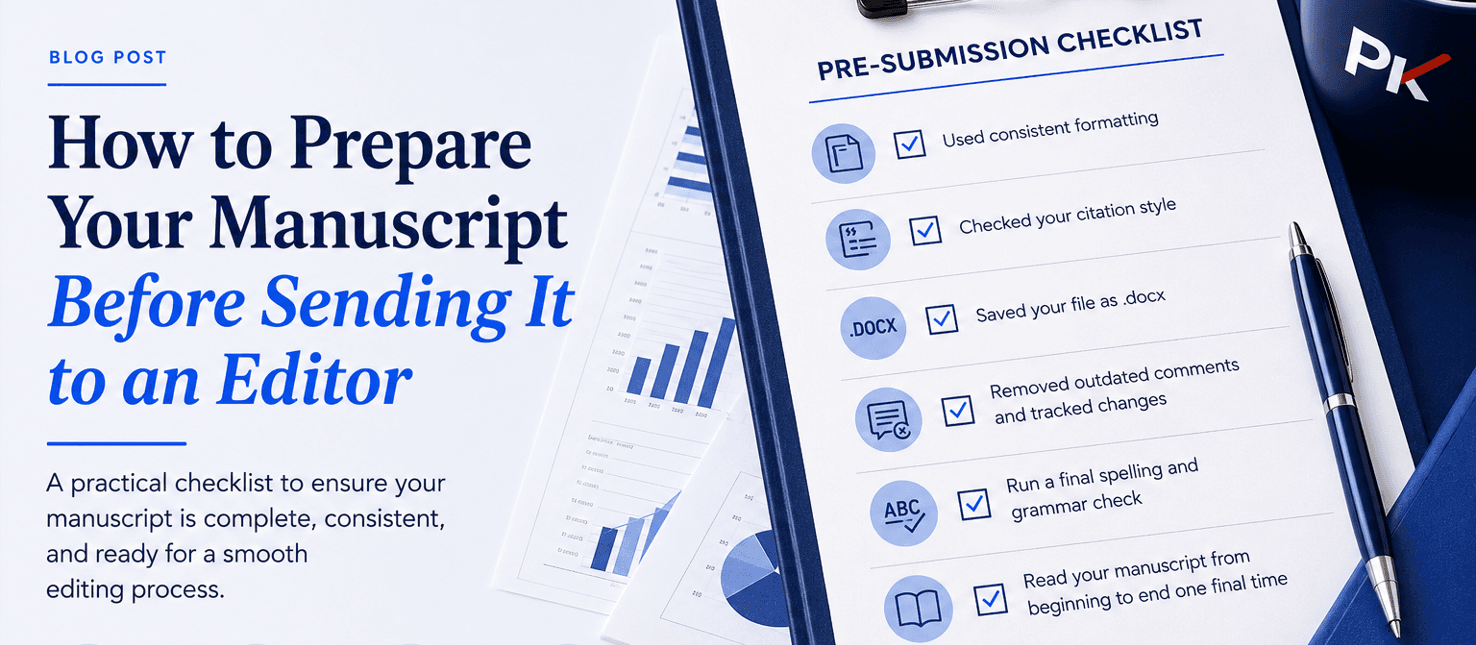
How to Prepare Your Manuscript Before Sending It to an Editor
Learn how to prepare your manuscript before submitting it for academic editing. Follow this practical checklist to avoid common mistakes, improve consistency, and help your editor focus on what matters most.

What Happens After You Submit Your Manuscript for Academic Editing?
Wondering what happens after you submit your manuscript for academic editing? Learn how professional editors review, revise, and prepare your paper while preserving your voice and keeping you in control of every suggested change.
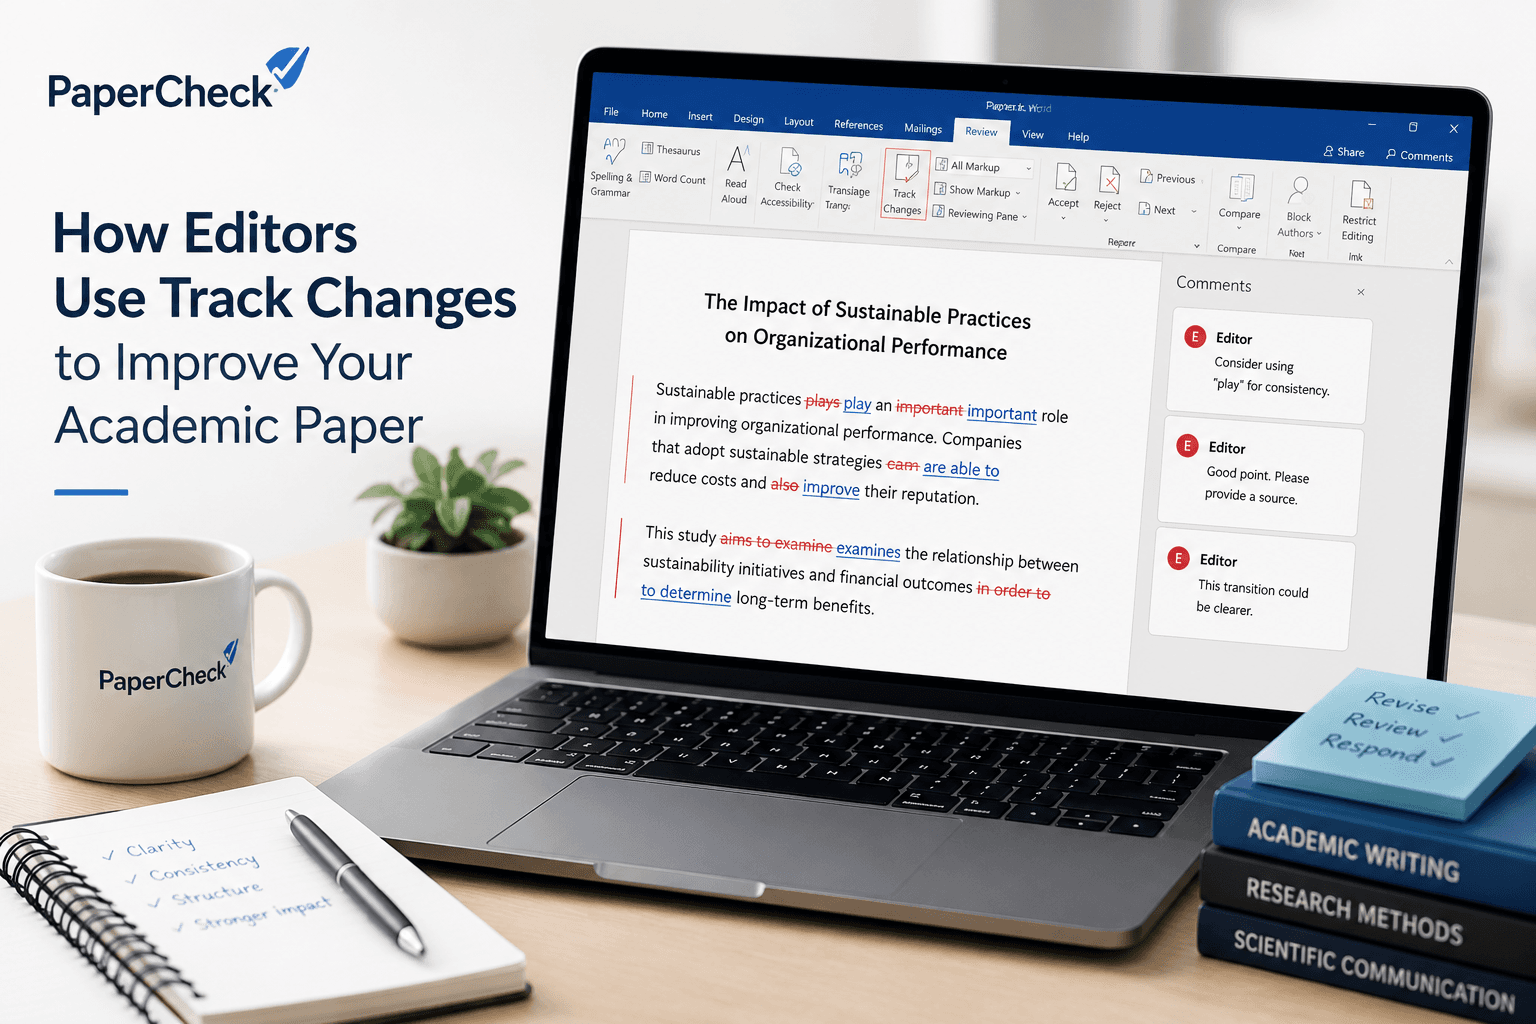
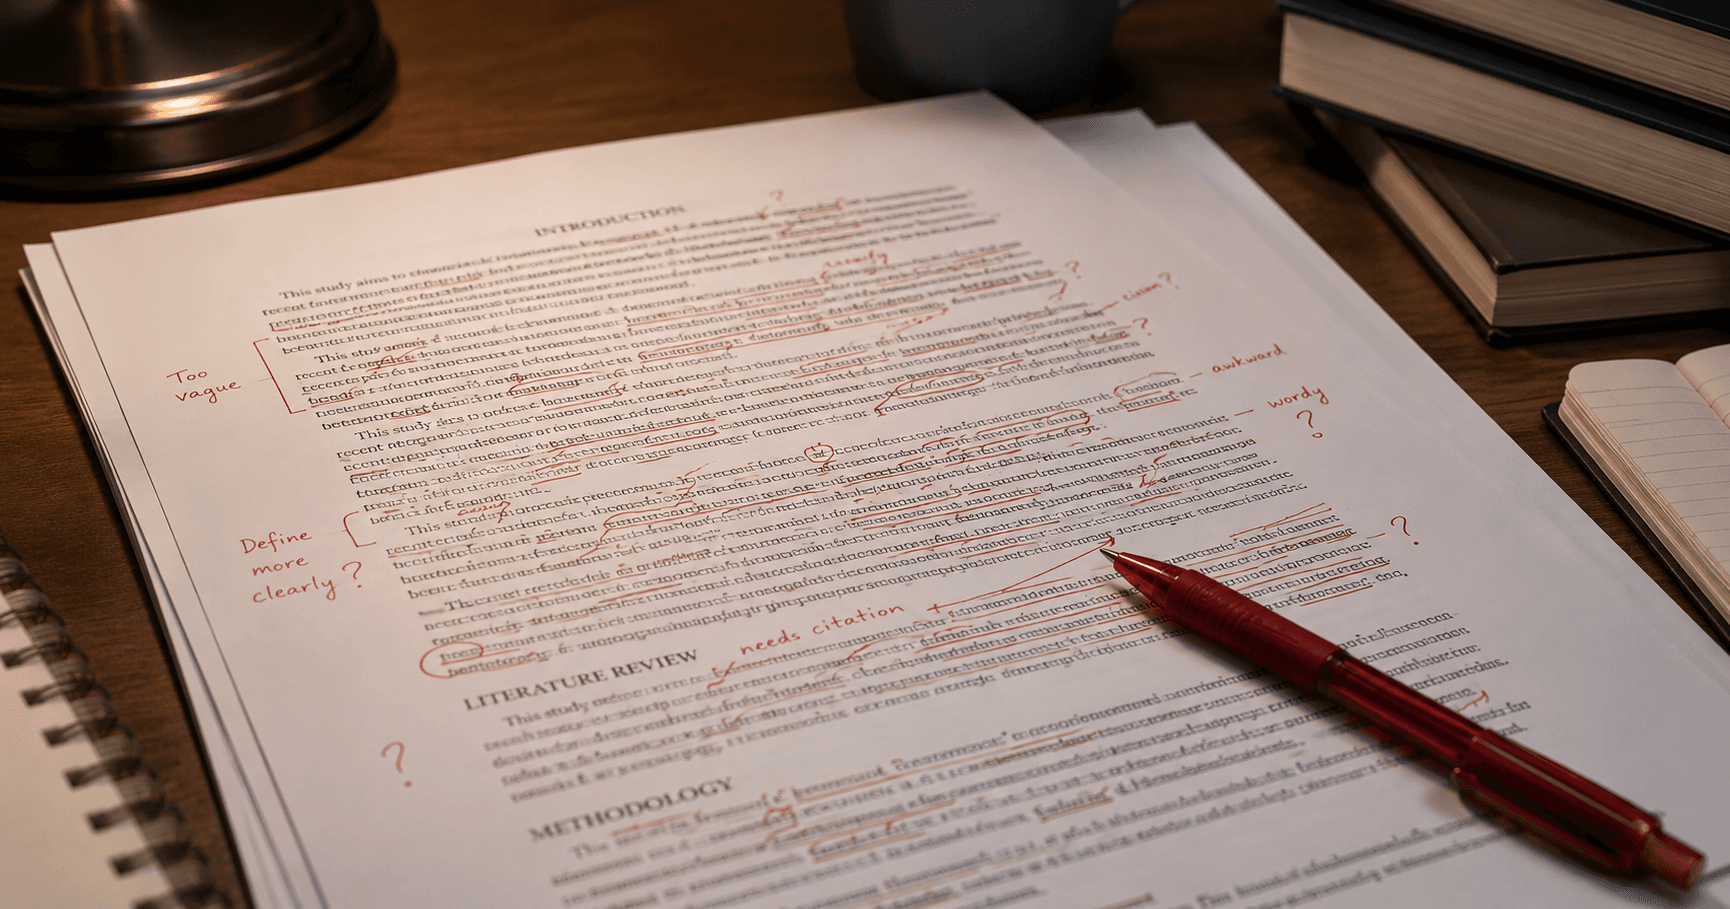
How Editors Use Track Changes to Improve Your Academic Paper
Discover how professional editors use Microsoft Word's Track Changes feature to improve clarity, accuracy, and transparency while allowing authors to review every suggested revision before submission.
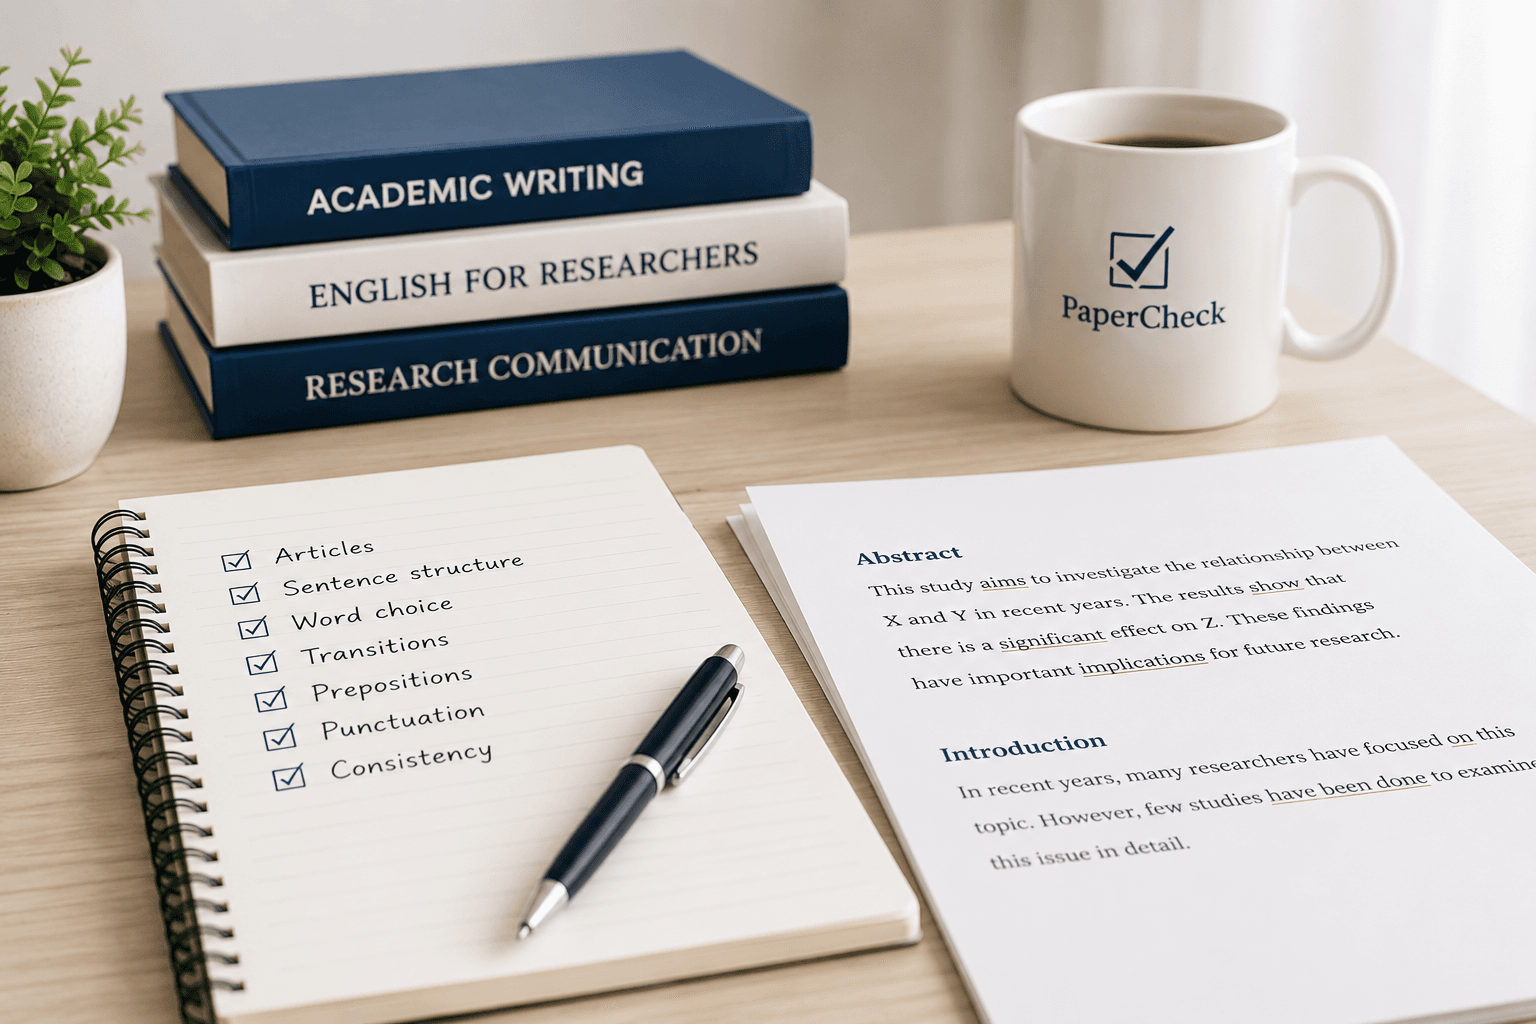
Editing for ESL Researchers: The Most Common English Mistakes in Academic Papers
Many ESL researchers produce excellent research but struggle with language issues that affect clarity and readability. Learn the most common English mistakes in academic papers and how professional editing can help.
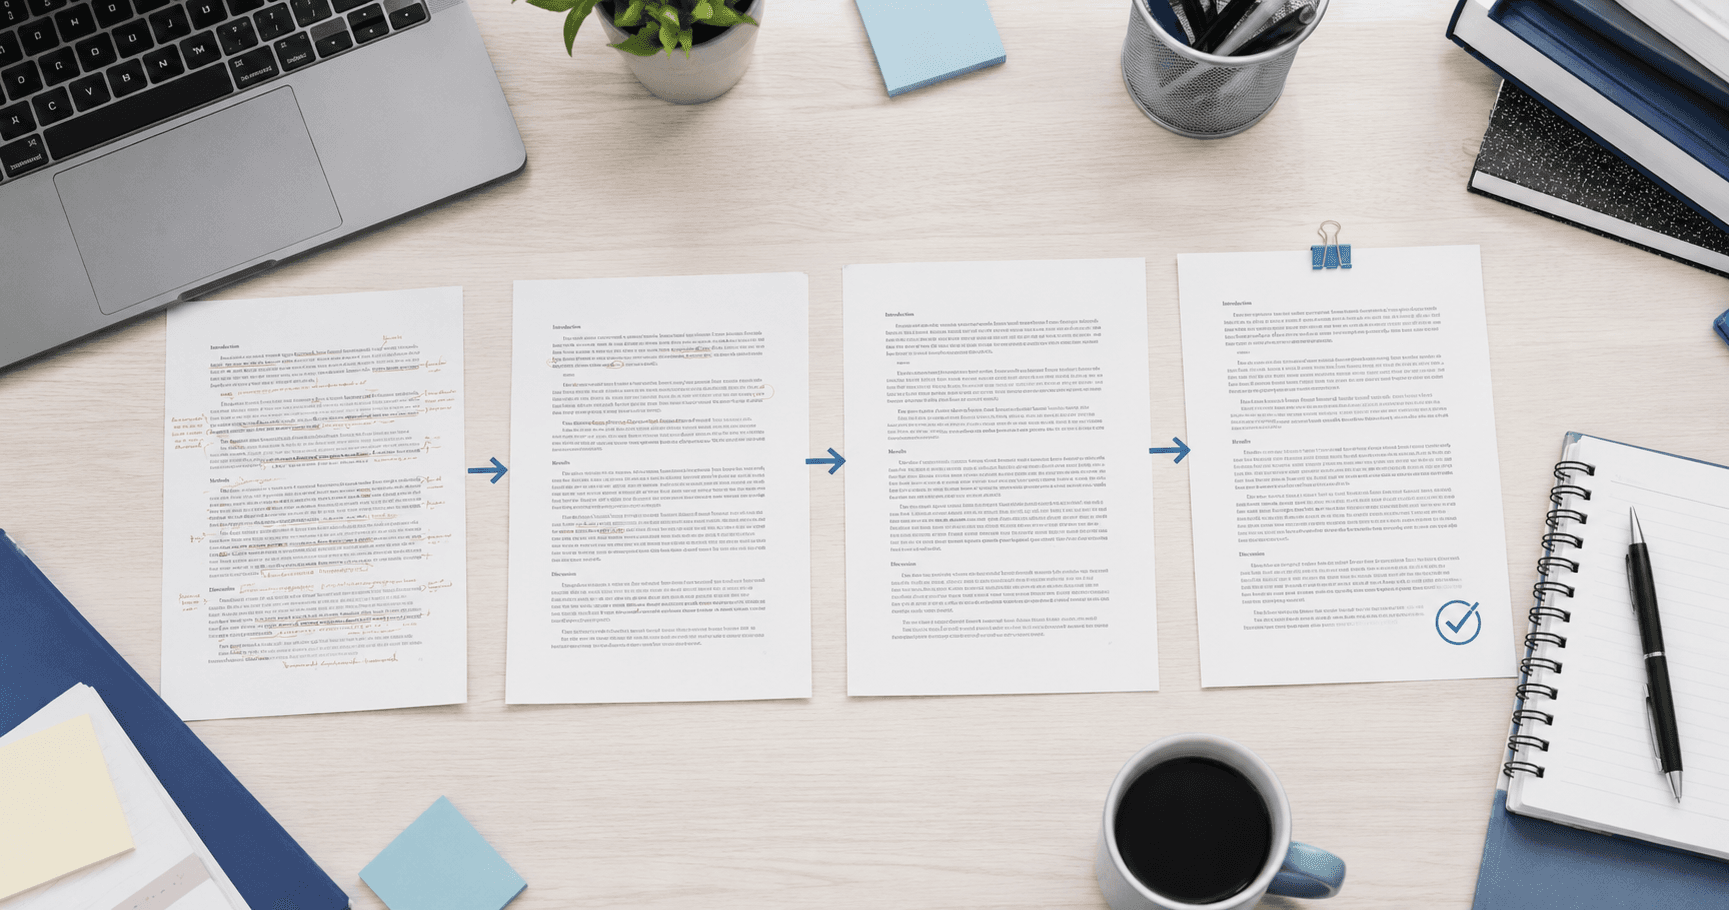
From Draft to Journal Submission: Where Professional Editing Makes the Biggest Difference
Discover where professional editing has the greatest impact during the publication process. Learn how strategic editing improves clarity, strengthens your manuscript, and prepares your research for successful journal submission.

How to Respond to Reviewer Comments and Get Your Paper Accepted
Reviewer comments can feel overwhelming, but how you respond may influence the final publication decision. Learn a structured approach to revising your manuscript and preparing a professional response letter.

Why Good Research Gets Rejected
Strong research does not always lead to publication. Learn the common writing and structural issues that cause journals to reject otherwise valuable manuscripts.
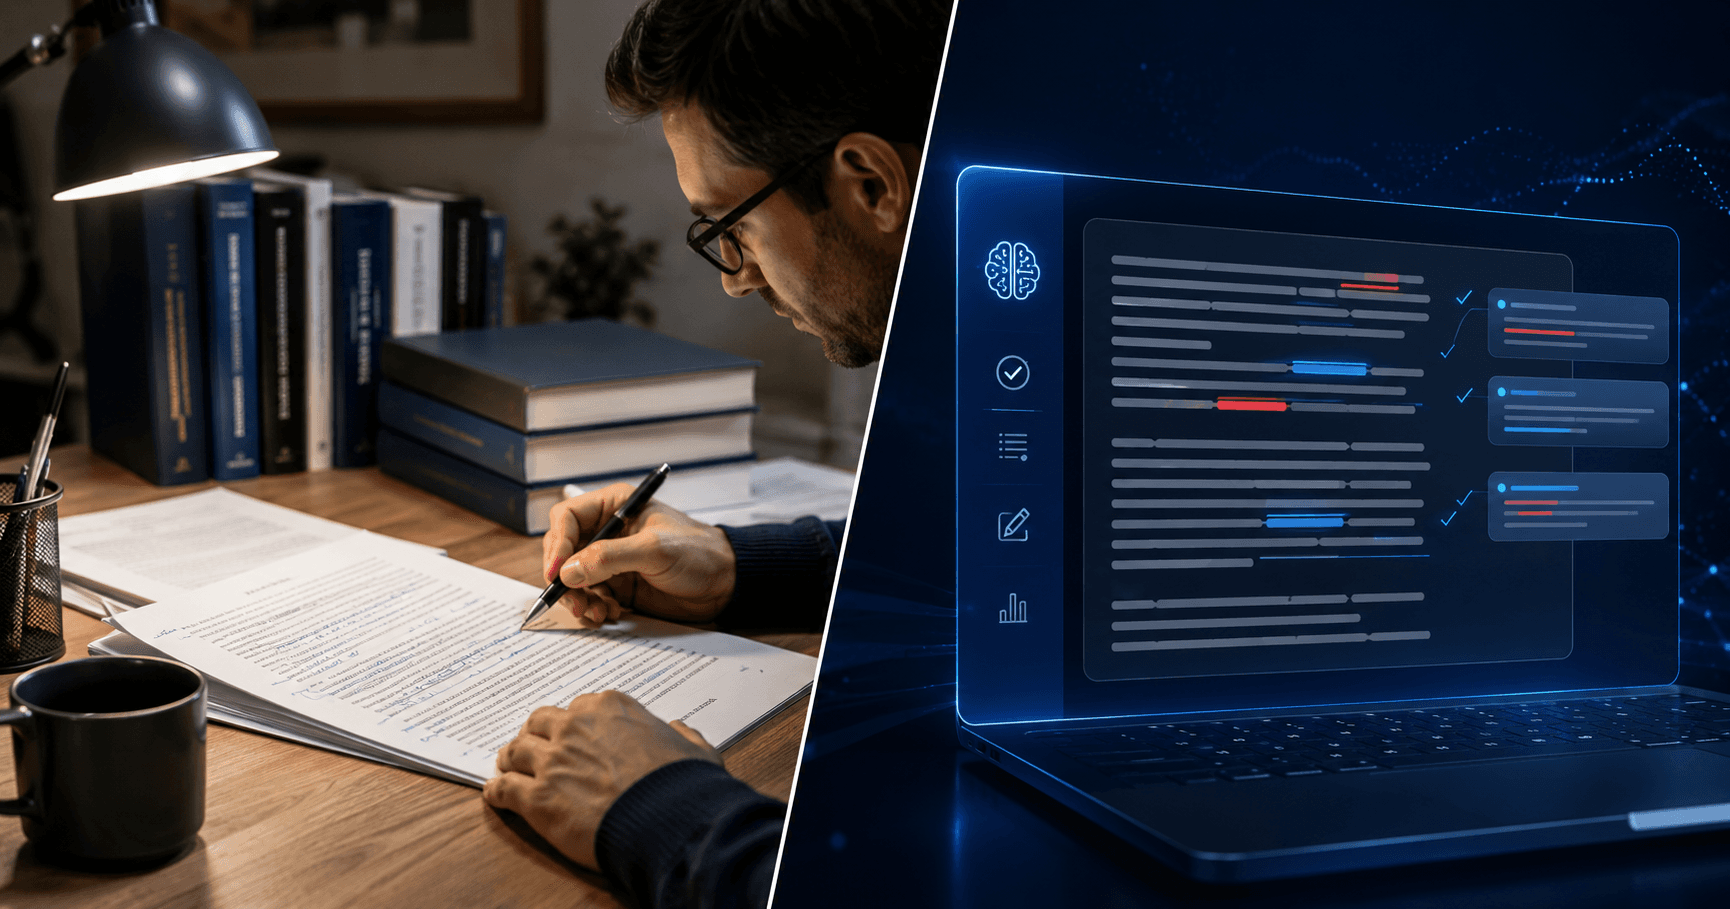
Human Editing vs. AI Proofreading: What Journals Actually Prefer
AI proofreading tools are fast and convenient, but are they enough for academic publishing? Learn why journals still value human editing when clarity, precision, and scholarly integrity matter.v

How to Write a Hypothesis: Step-by-Step Guide
Learn how to write clear, testable hypotheses for scientific and academic papers. Step-by-step process, example hypotheses, variable operationalization, and common mistakes
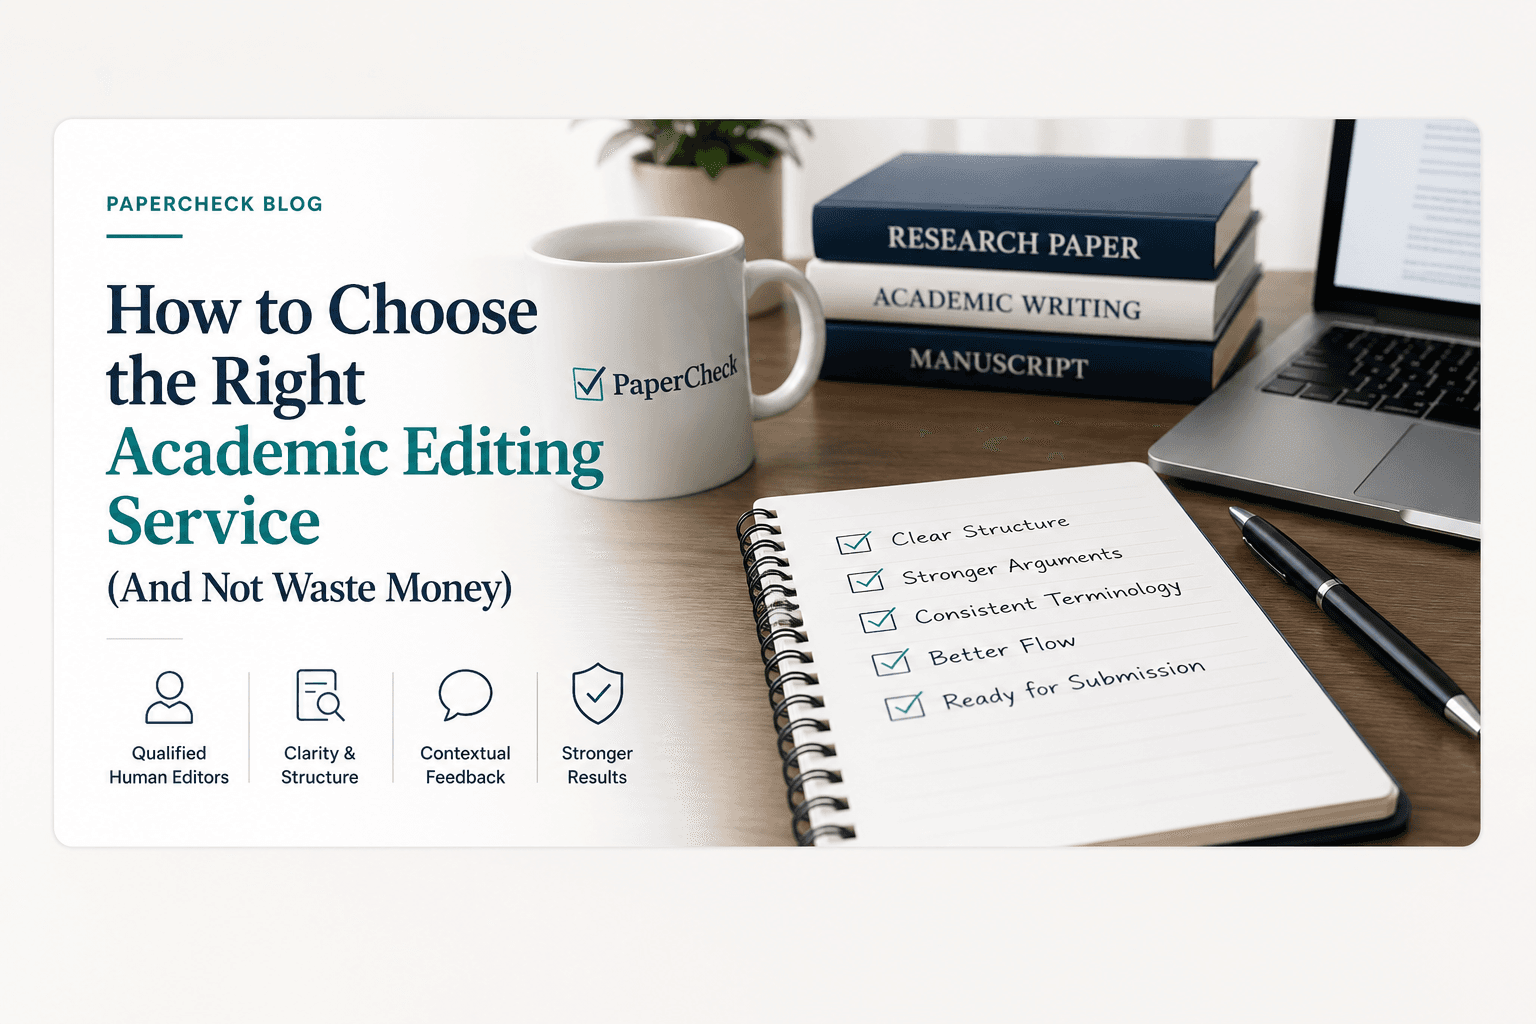
How to Choose the Right Academic Editing Service (And Not Waste Money)
Not all academic editing services improve your manuscript equally. Learn what to look for before paying for editing and how to avoid low-quality revisions.

How Long Should an Essay, Research Paper, or Report Be? A Practical Guide for Students
Not sure how long your essay or research paper should be? This guide explains typical word counts, academic expectations, and practical tips to meet length requirements without adding unnecessary content.

APA vs MLA: What’s the Difference and Which Should You Use?
Learn the key differences between APA and MLA citation styles. This quick, student-friendly guide shows how each style handles in-text citations, references, and formatting—plus a simple decision flow to help you choose the right one.
7 Signs Your Paper Needs Professional Editing Before Submission
Small writing issues can weaken strong research. Discover 7 common signs your paper may need professional editing before journal submission.

MLA Format Explained: A Complete Guide for Students
Step-by-step MLA formatting for title page, in-text citations, and works cited page (with templates)

How to Use Track Changes in Word – Easy Step-by-Step Guide (2026)
Learn how to enable, use, and review Track Changes in Microsoft Word for essays and collaborative work. Step-by-step tutorial with screenshots and practical tips

APA Citation Guide: How to Cite Sources the Easy Way
Explain APA citation rules, common mistakes, provide reference tables
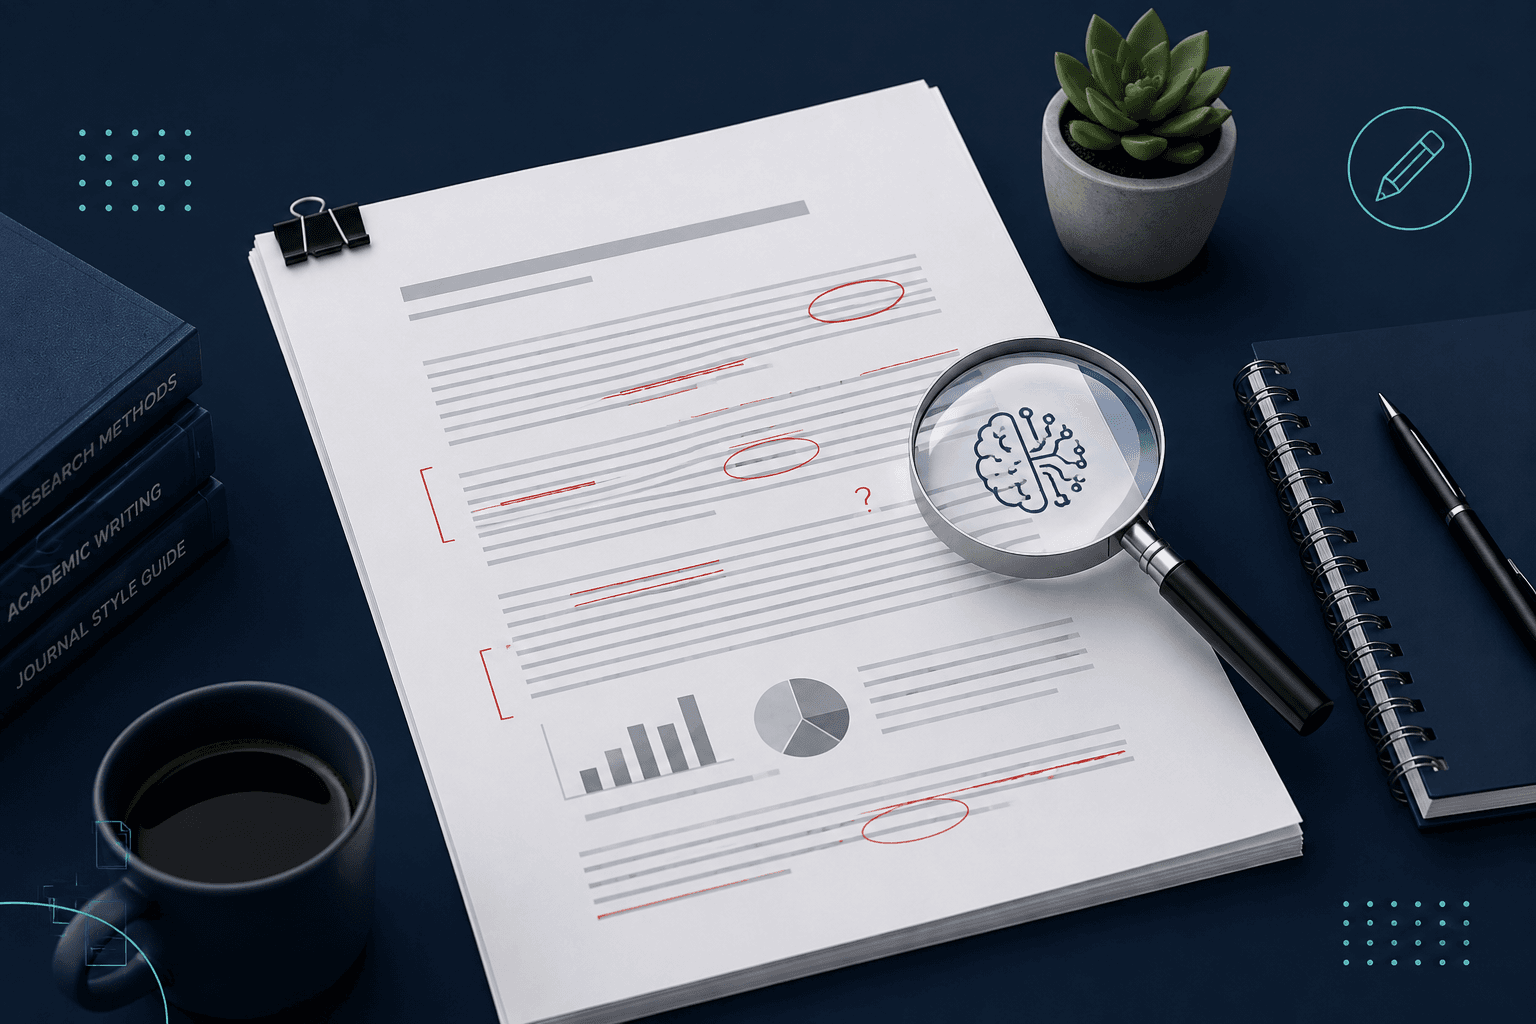
How Reviewers Detect AI Writing in Academic Papers (With Real Examples)
AI-generated academic writing is becoming harder to recognize. Learn the patterns reviewers and editors notice most — and why human writing still stands out.

Top 10 Editing Tips to Improve Your Academic Writing
Discover 10 actionable editing tips to enhance academic writing. Improve structure, clarity, tone, and citations with practical before-and-after examples

How to Avoid Common Grammar Mistakes in Academic Writing
Learn how to prevent frequent grammar mistakes in academic writing. Explore common errors, practical fixes, and tips to improve clarity, style, and correctness

What is a Thesis Statement? Definition, Examples & Tips
Explain what a thesis is, role in essay, how to write strong one
How Long Does Academic Editing Take? Turnaround Times Explained
Wondering how long academic editing takes? From topic complexity to style guide compliance, here's what actually determines your turnaround time and how to plan ahead.
Can Editing Guarantee Journal Acceptance? (Honest Answer)
Editing can strengthen your manuscript in real ways, but it can't guarantee journal acceptance. Here's an honest breakdown of what editing does and doesn't do, and why well-edited papers still get rejected.

Thesis Statement Examples for Every Type of Essay
Find clear thesis statement examples for argumentative, expository, and analytical essays. Use ready-to-adapt templates, writing tips, and a quick checklist to craft a strong thesis for any assignment

English Grammar Rules Every Student Should Know — Tenses, Punctuation & Agreement
An evergreen guide to essential English grammar: master verb tenses, punctuation basics, and subject–verb agreement with clear examples and quick editing tips

How to Write a Strong Introduction Paragraph
Learn how to write a strong introduction paragraph that grabs attention, provides context, and clearly presents your thesis. These simple tips will help you start essays with clarity and impact.

What Harvard Style Is and How to Use It Correctly
A clear and concise guide to understanding the Harvard referencing style, its origins, and how to use it properly in academic writing.

Comma Rules Explained: 10 Easy Examples with Practice Exercises
Master comma usage with this practical guide. Learn 10 essential comma rules, see examples, and practice with interactive exercises where answers are hidden for self-testing

Making Sense of Reviewer Feedback: How to Revise Your Manuscript Effectively
Learn how to interpret reviewer feedback and revise your manuscript effectively. Improve clarity, structure, and response strategies for academic writing.

Common Writing Mistakes in Journalistic Articles
Learn the most common mistakes in journalistic writing and how to avoid them. Improve clarity, credibility, and reader engagement with practical editing tips.

How to Edit Business Reports for Professional Impact
Learn how to edit business reports for clarity, structure, and professional impact. Practical tips to improve readability and strengthen your message.

What Is Journal Editing and Why It Matters for Clear, Impactful Writing
Journal editing helps improve clarity, structure, and readability in written content. Learn why it matters and how it enhances the quality and impact of your work.

Signs Your Document Needs Professional Editing Before Submission
Finishing a document doesn’t always mean it’s ready to submit. Discover the key signs that your writing needs professional editing to improve clarity, structure, and overall quality.

Why Papers Get Rejected by Academic Journals
Many academic papers are rejected not because the research lacks value, but because of methodological, structural, or editorial issues. Learn the most common reasons journals reject manuscripts and how editing can improve publication chances.

How Strong Writing and Editing Shape Credibility and Professionalism
Clear writing and careful editing do more than improve grammar—they shape how professionals and organizations are perceived. Learn why strong communication builds credibility and trust.

How to Check Word Count in Microsoft Word (and Why It Matters)
Learn why meeting word count matters in academic writing and discover three easy ways to check your word count in Microsoft Word.

Chicago Style Citation Guide for Beginners
A beginner-friendly guide to Chicago Style citations, explaining how to format notes, bibliographies, and sources correctly for academic writing.

Topic Sentences: How to Start Strong Paragraphs
Learn what topic sentences are, why they matter, and how to write clear, effective paragraphs that strengthen your academic writing.

When to Proofread and When to Edit: A Student’s Guide
Learn the key differences between proofreading and editing, and discover how to decide which one your college paper needs to improve clarity, accuracy, and overall quality.

Mastering Active and Passive Voice in Academic Writing
Learn when to use active vs. passive voice in academic writing, with clear examples, side-by-side comparisons, and practical tips to improve clarity, flow, and impact.

How to Conclude an Essay: Tips and Examples
A clear and practical guide on how to write a strong essay conclusion, including techniques, structure tips, and a full example to help students wrap up their writing with impact.

The Difference Between “Affect” and “Effect”
A quick guide to understanding the difference between “affect” and “effect,” with simple examples and a helpful memory trick to avoid common grammar mistakes.

Punctuation Guide: Periods, Colons, Semicolons & More
Learn how to use periods, colons, semicolons, parentheses, and em dashes correctly. This practical punctuation guide explains each mark with clear examples and easy rules for better writing

How to Write a Literature Review
Learn how to write a clear and well-organized literature review that goes beyond summarizing articles, connect ideas, identify gaps, and show how your research contributes to the field.
Ready to Get Professional Editing and Proofreading Services?
Create your first quote and get started with our expert editors today.