
Resource Center
Discover expert tips, guides, and tools to improve your writing and editing skills
26 Resources Found
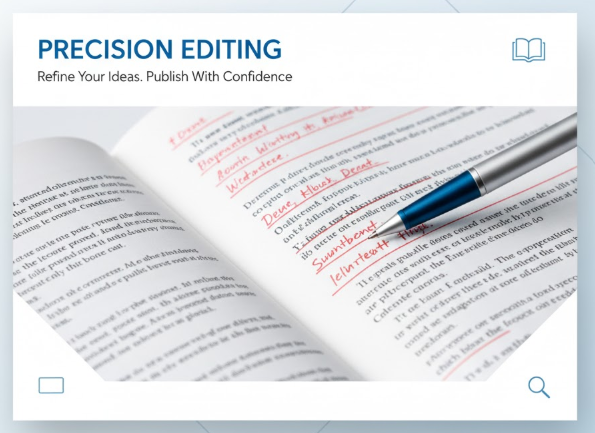
Signs Your Document Needs Professional Editing Before Submission
Finishing a document doesn’t always mean it’s ready to submit. Discover the key signs that your writing needs professional editing to improve clarity, structure, and overall quality.
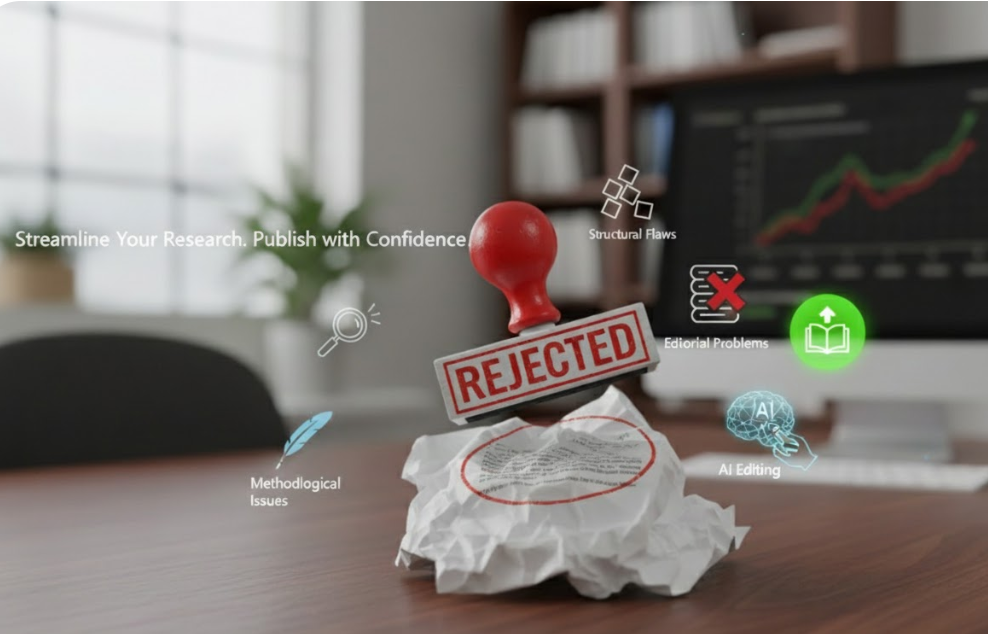
Why Papers Get Rejected by Academic Journals
Many academic papers are rejected not because the research lacks value, but because of methodological, structural, or editorial issues. Learn the most common reasons journals reject manuscripts and how editing can improve publication chances.
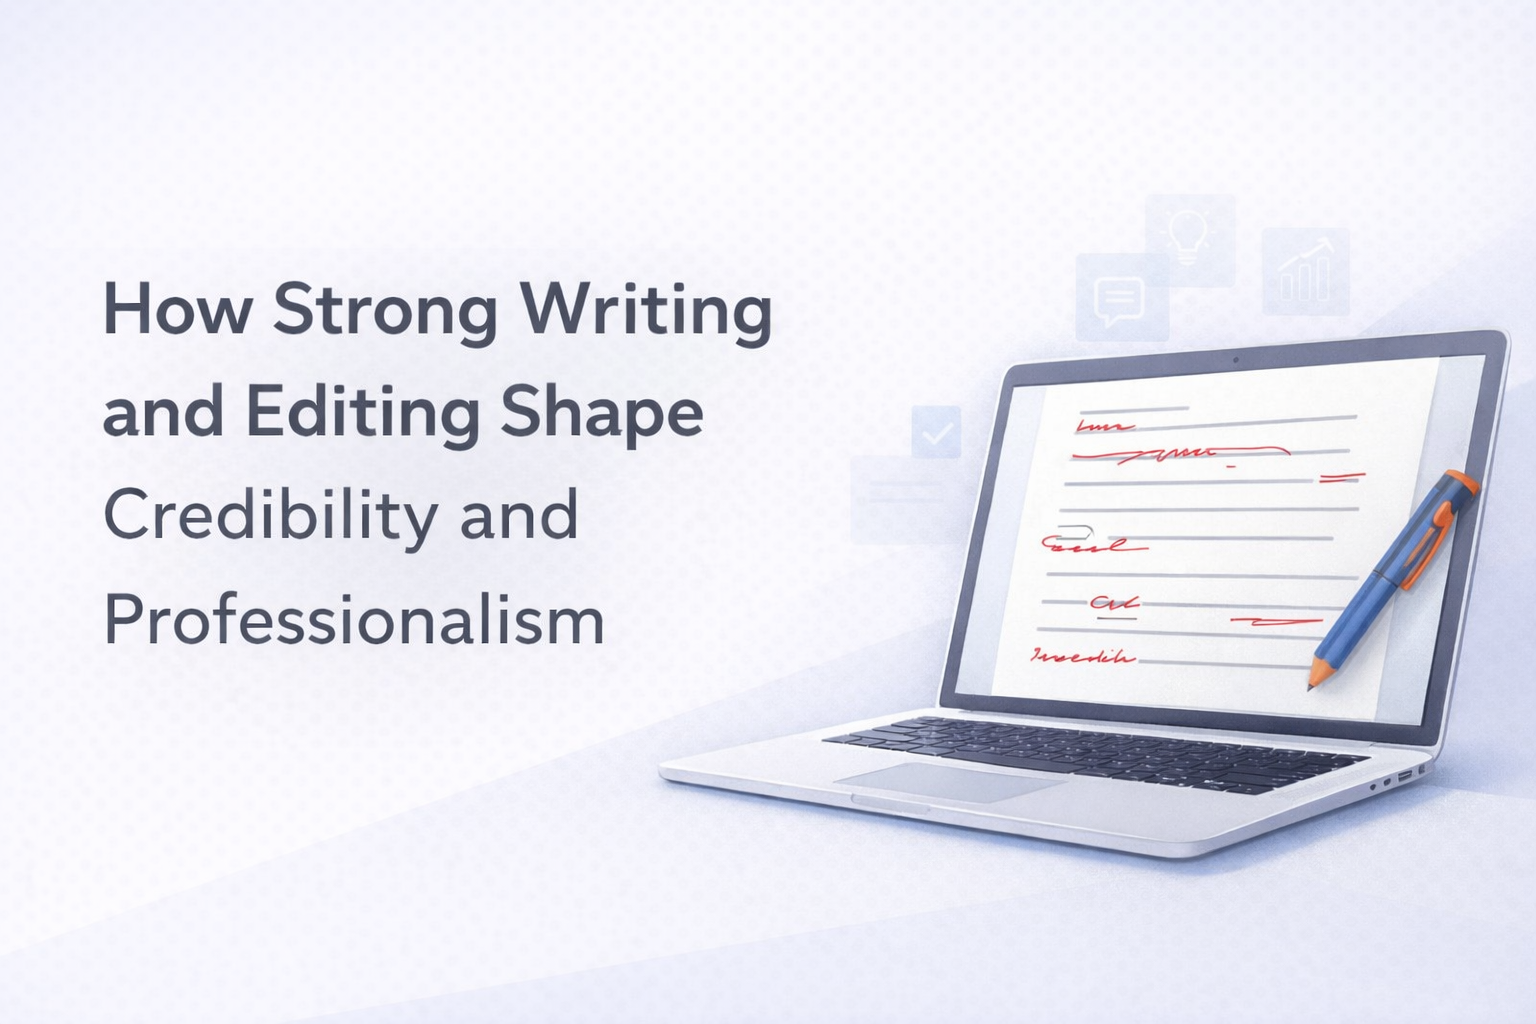
How Strong Writing and Editing Shape Credibility and Professionalism
Clear writing and careful editing do more than improve grammar—they shape how professionals and organizations are perceived. Learn why strong communication builds credibility and trust.
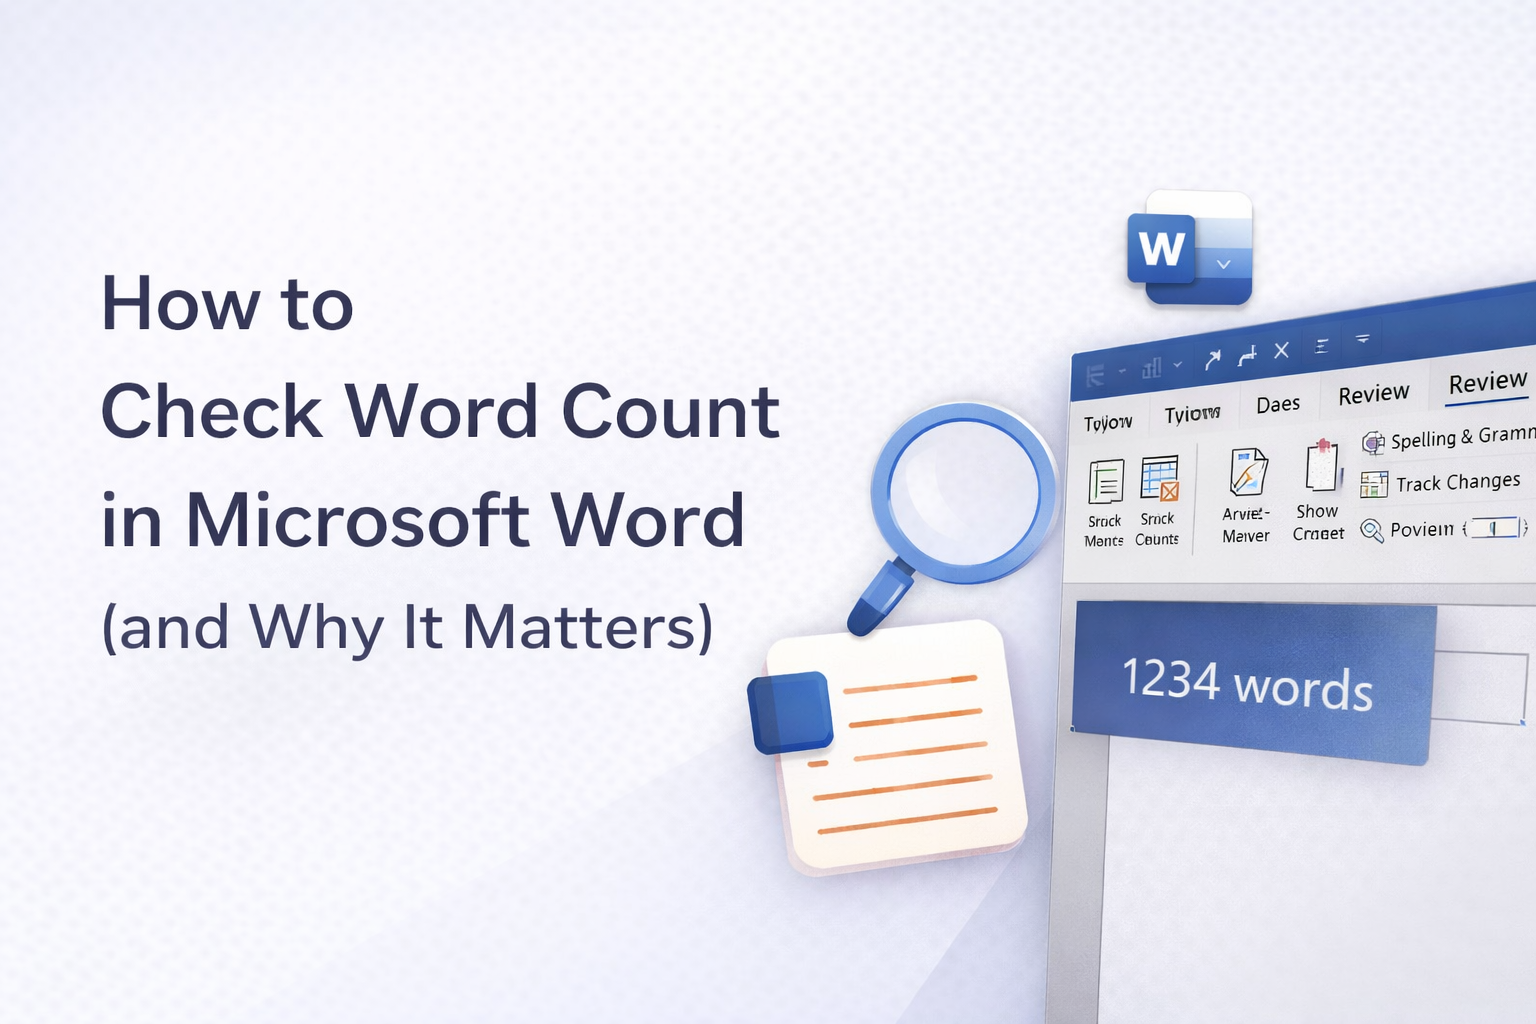
How to Check Word Count in Microsoft Word (and Why It Matters)
Learn why meeting word count matters in academic writing and discover three easy ways to check your word count in Microsoft Word.

How Long Should an Essay, Research Paper, or Report Be? A Practical Guide for Students
Not sure how long your essay or research paper should be? This guide explains typical word counts, academic expectations, and practical tips to meet length requirements without adding unnecessary content.
Chicago Style Citation Guide for Beginners
A beginner-friendly guide to Chicago Style citations, explaining how to format notes, bibliographies, and sources correctly for academic writing.
Topic Sentences: How to Start Strong Paragraphs
Learn what topic sentences are, why they matter, and how to write clear, effective paragraphs that strengthen your academic writing.
When to Proofread and When to Edit: A Student’s Guide
Learn the key differences between proofreading and editing, and discover how to decide which one your college paper needs to improve clarity, accuracy, and overall quality.

Mastering Active and Passive Voice in Academic Writing
Learn when to use active vs. passive voice in academic writing, with clear examples, side-by-side comparisons, and practical tips to improve clarity, flow, and impact.

How to Conclude an Essay: Tips and Examples
A clear and practical guide on how to write a strong essay conclusion, including techniques, structure tips, and a full example to help students wrap up their writing with impact.

What Harvard Style Is and How to Use It Correctly
A clear and concise guide to understanding the Harvard referencing style, its origins, and how to use it properly in academic writing.
How to Write a Strong Introduction Paragraph
Learn how to write a strong introduction paragraph that grabs attention, provides context, and clearly presents your thesis. These simple tips will help you start essays with clarity and impact.

The Difference Between “Affect” and “Effect”
A quick guide to understanding the difference between “affect” and “effect,” with simple examples and a helpful memory trick to avoid common grammar mistakes.

Punctuation Guide: Periods, Colons, Semicolons & More
Learn how to use periods, colons, semicolons, parentheses, and em dashes correctly. This practical punctuation guide explains each mark with clear examples and easy rules for better writing

How to Use Track Changes in Microsoft Word: Step-by-Step Guide
Learn how to enable, use, and review Track Changes in Microsoft Word for essays and collaborative work. Step-by-step tutorial with screenshots and practical tips
How to Avoid Common Grammar Mistakes in Academic Writing
Learn how to prevent frequent grammar mistakes in academic writing. Explore common errors, practical fixes, and tips to improve clarity, style, and correctness
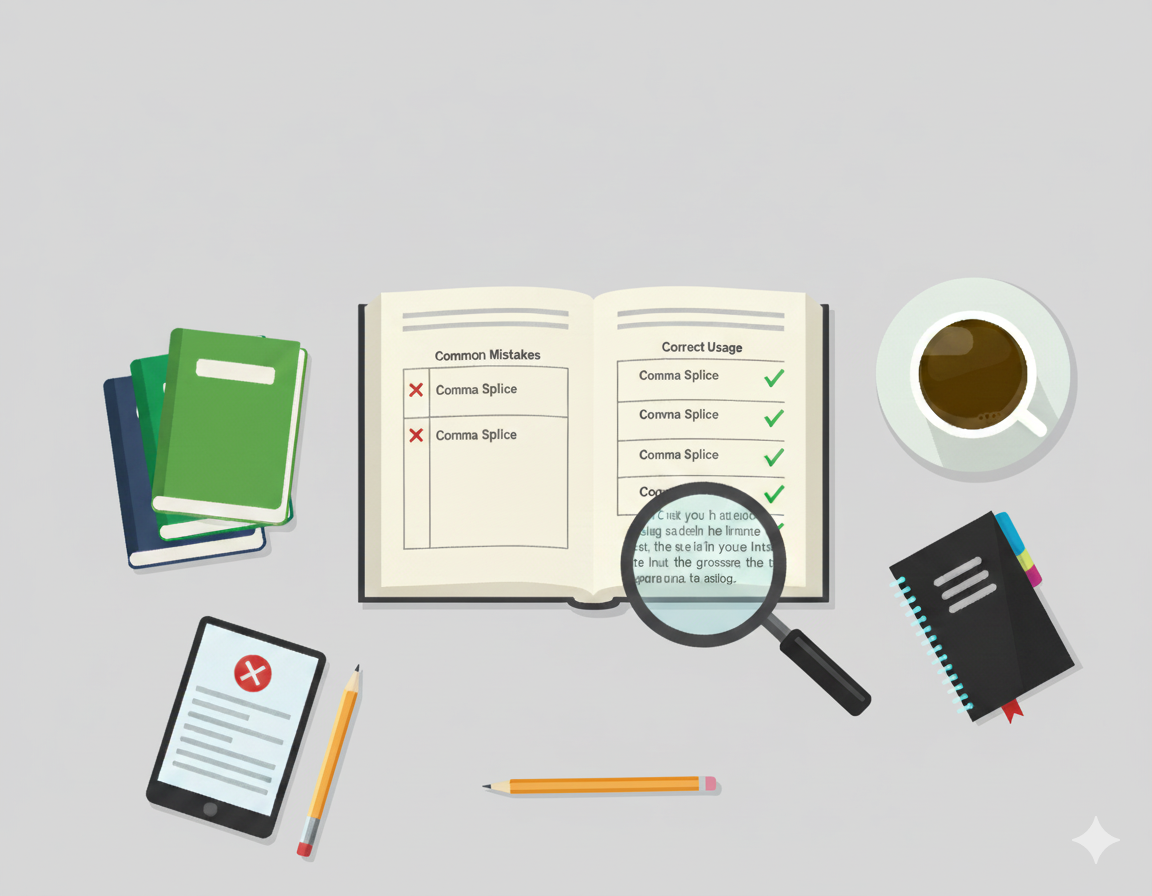
Comma Rules Explained: 10 Easy Examples with Practice Exercises
Master comma usage with this practical guide. Learn 10 essential comma rules, see examples, and practice with interactive exercises where answers are hidden for self-testing

English Grammar Rules Every Student Should Know — Tenses, Punctuation & Agreement
An evergreen guide to essential English grammar: master verb tenses, punctuation basics, and subject–verb agreement with clear examples and quick editing tips

How to Write a Hypothesis: Step-by-Step Guide
Learn how to write clear, testable hypotheses for scientific and academic papers. Step-by-step process, example hypotheses, variable operationalization, and common mistakes

Thesis Statement Examples for Every Type of Essay
Find clear thesis statement examples for argumentative, expository, and analytical essays. Use ready-to-adapt templates, writing tips, and a quick checklist to craft a strong thesis for any assignment
What is a Thesis Statement? Definition, Examples & Tips
Explain what a thesis is, role in essay, how to write strong one
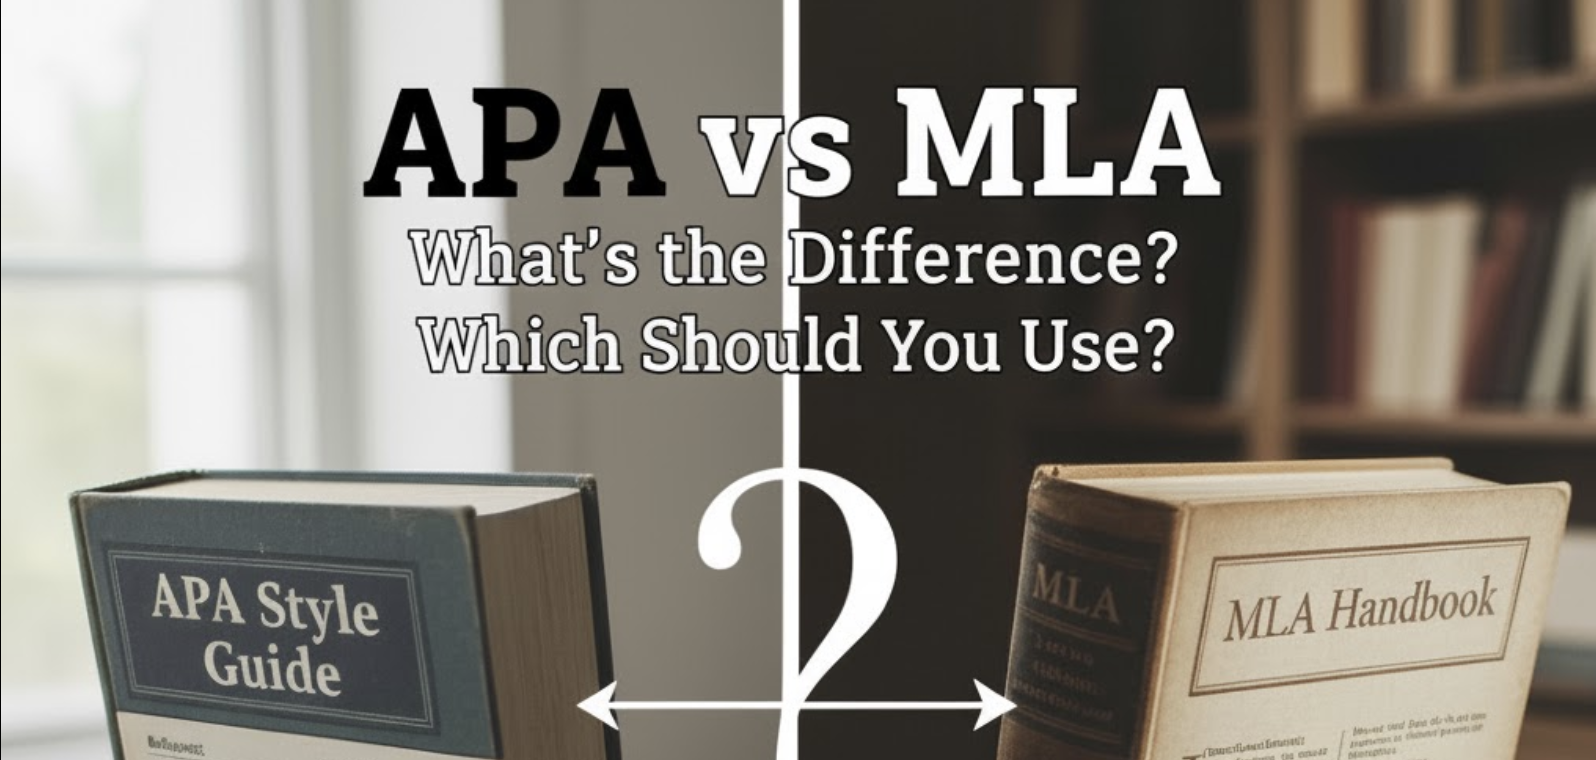
APA vs MLA: What’s the Difference and Which Should You Use?
Learn the key differences between APA and MLA citation styles. This quick, student-friendly guide shows how each style handles in-text citations, references, and formatting—plus a simple decision flow to help you choose the right one.
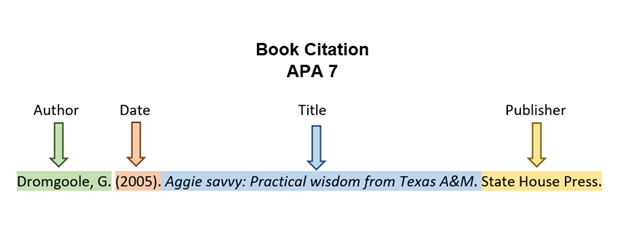
APA Citation Guide: How to Cite Sources the Easy Way
Explain APA citation rules, common mistakes, provide reference tables
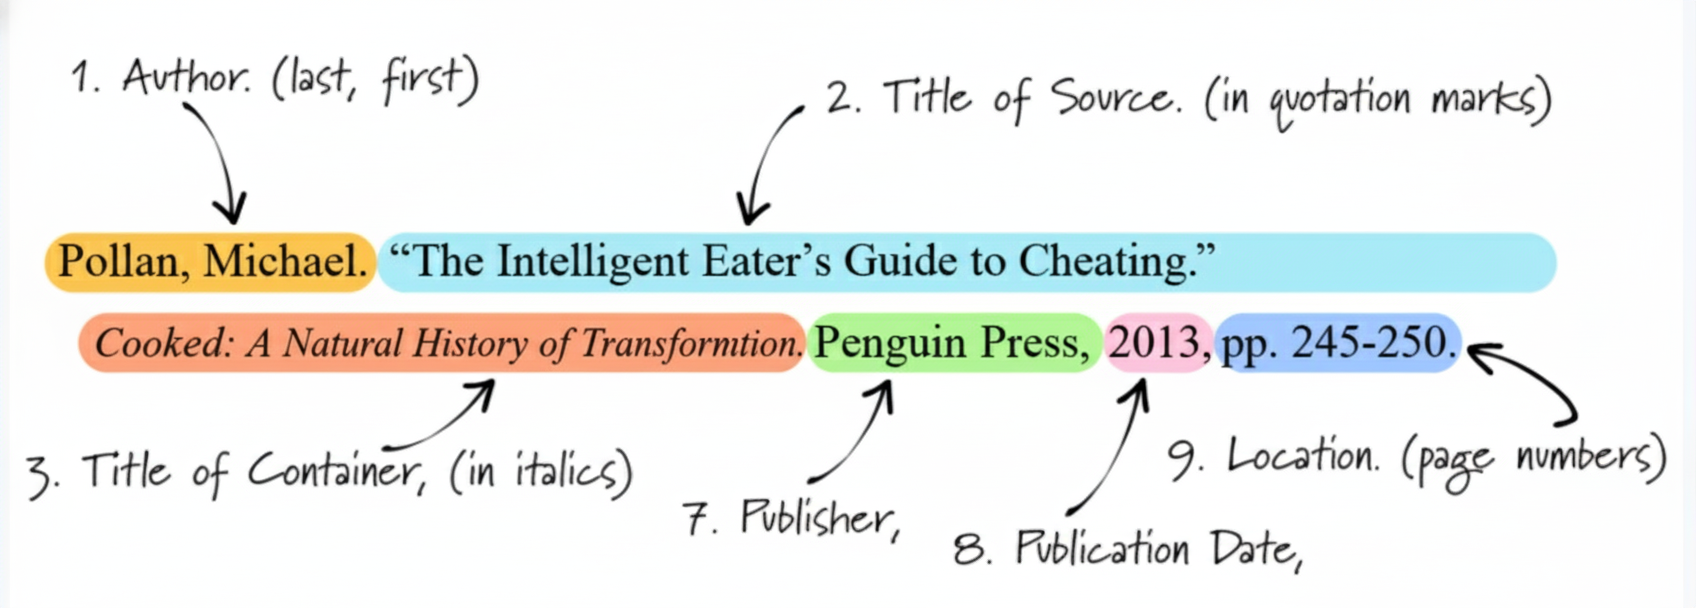
MLA Format Explained: A Complete Guide for Students
Step-by-step MLA formatting for title page, in-text citations, and works cited page (with templates)
How to Write a Literature Review
Learn how to write a clear and well-organized literature review that goes beyond summarizing articles, connect ideas, identify gaps, and show how your research contributes to the field.
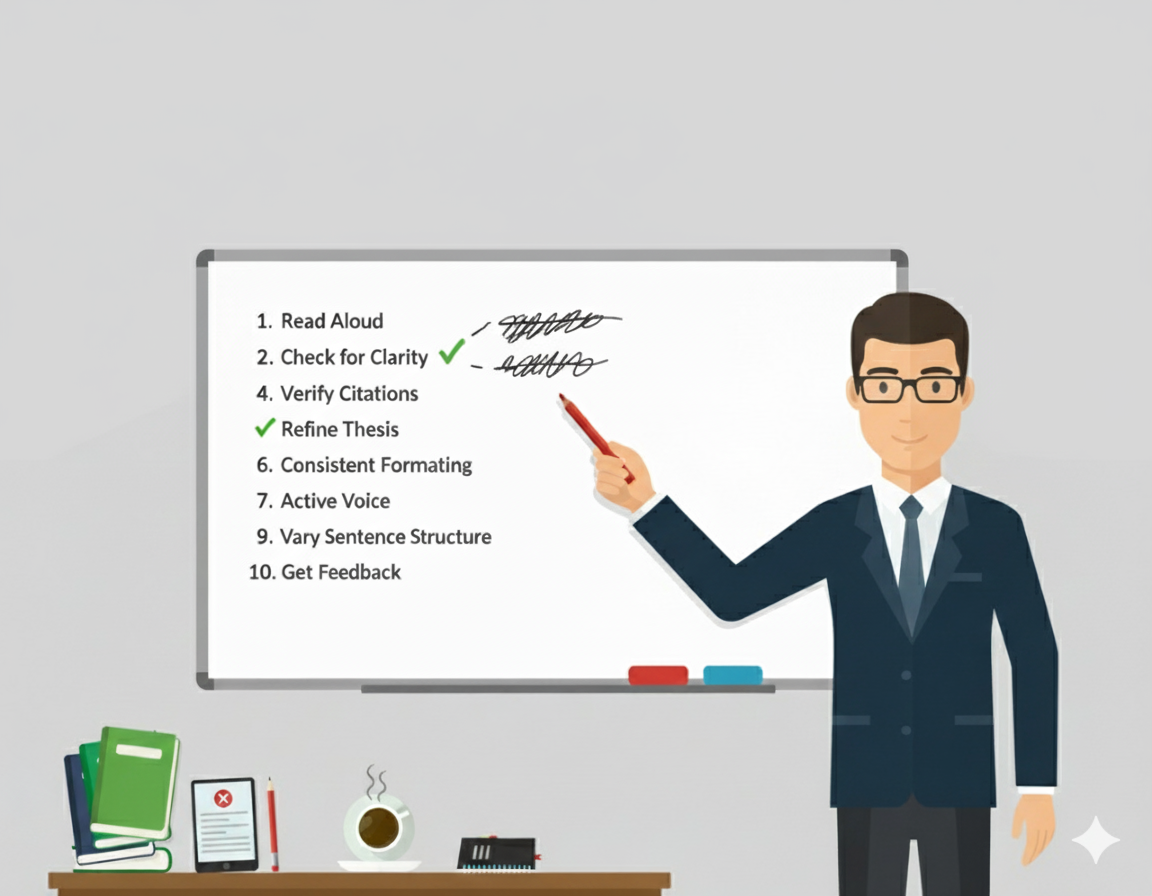
Top 10 Editing Tips to Improve Your Academic Writing
Discover 10 actionable editing tips to enhance academic writing. Improve structure, clarity, tone, and citations with practical before-and-after examples
Ready to Get Professional Editing and Proofreading Services?
Create your first quote and get started with our expert editors today.