Step 1:
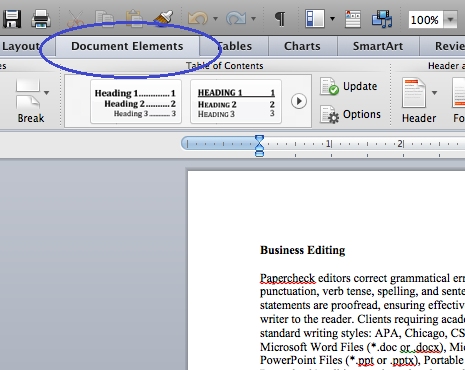
To create a bibliography, open your document and locate the Document Elements tab.
Step 2:
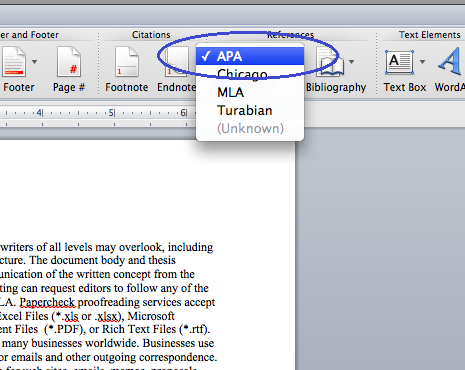
Under the References section, choose your referencing style from the drop-down menu, circled in blue in the screenshot below.

- With a Microsoft 365 12‑month subscription, you can create, organize, and get things done.
- Bring out your best with premium Office apps, including Word, Excel, and PowerPoint.
- Easily access, edit, and share files and photos across all devices with 1 TB of OneDrive cloud storage.
- Keep it all together with Outlook, an ad‑free app for your email, calendars, to‑do lists and contacts plus security tools that keep your information protected.
- Protect your files with advanced security features like built‑in ransomware detection and recovery, and you can use two‑step identity verification to access your most important files in OneDrive Personal Vault.
Step 3:
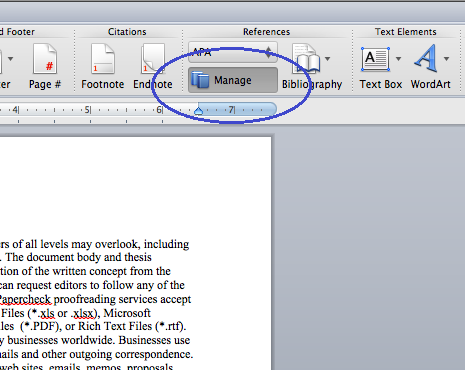
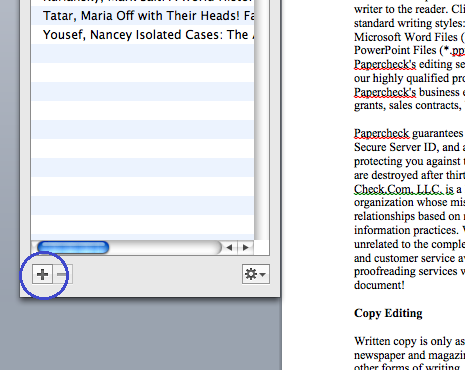
Place your cursor where you would like to enter your first citation and select Manage from the References section.
Step 4:
A citation window will appear. Click the + in the bottom left corner.

- Essentials for productivity: Office Home and Student 2021.
- Classic Office apps: Word, Excel, and PowerPoint.
- Compatible with Windows 11, Windows 10, MAC.
- Ideal for students, perfect for home or school use.
- No subscription required.
Step 5:
You will see a Create New Source window. Fill out the source information and click OK.

Step 6:
Notice that a reference has been inserted into the document. Follow Step 4 to enter the remaining citations into the document.
Tips:
If you would like to cite a source that you have already entered, simply double-click on the source from the list and a citation will be entered into the document.
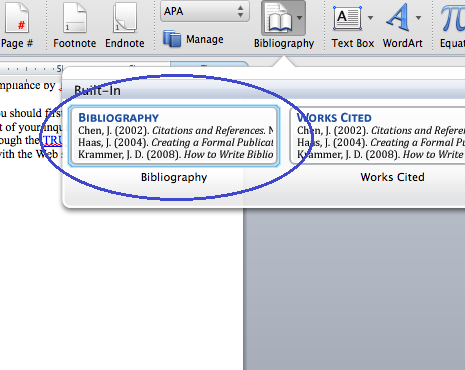
Step 7:
Place your cursor at the end of your document and select Bibliography from the drop-down arrow next to the Bibliography icon.
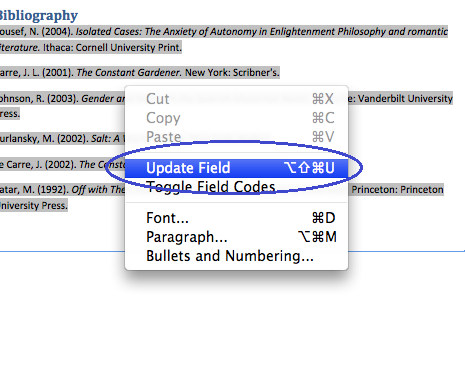
Tips:
If you wish to update your bibliography after adding more references, right-click anywhere on the bibliography and select Update Field.